Mailchimp setup
Before configuring the module, create or select the Mailchimp audience that should receive signups. In Mailchimp, obtain:
- An API key from your account's API key settings.
- The audience's unique ID. Mailchimp shows this in the audience settings; it may also appear as the
idin the audience's embedded signup form.
Keep the API key private. Enter it only in the module settings and protect access to the Joomla administrator.
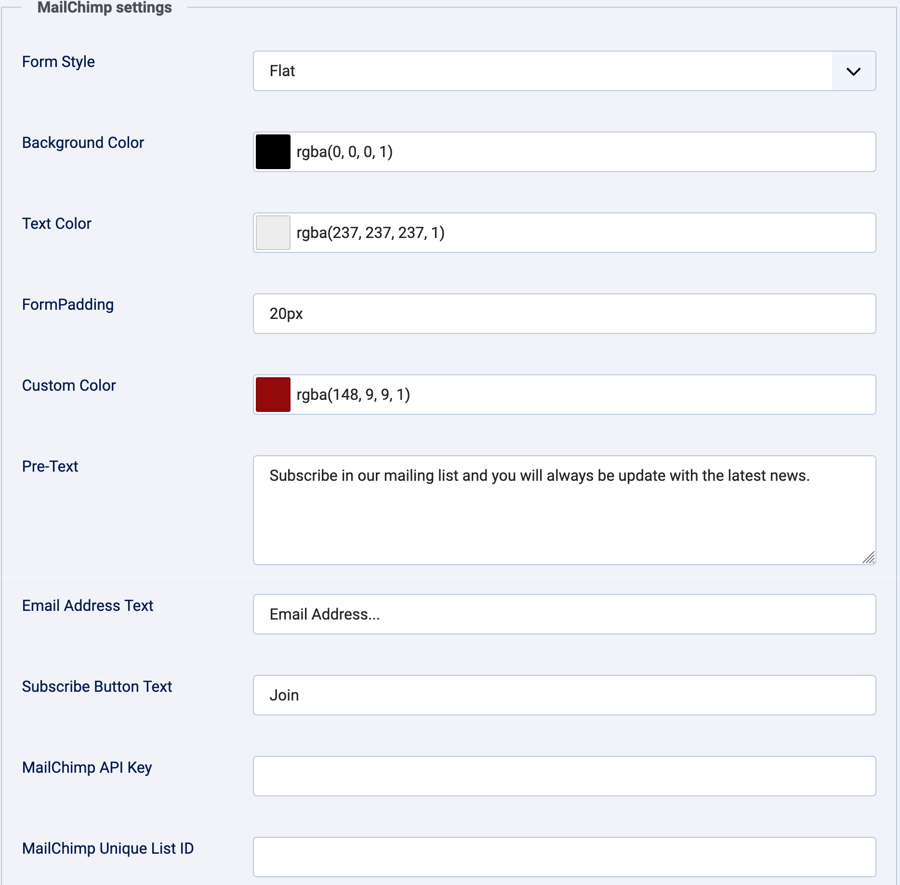
MailChimp settings
| Setting | Description |
|---|---|
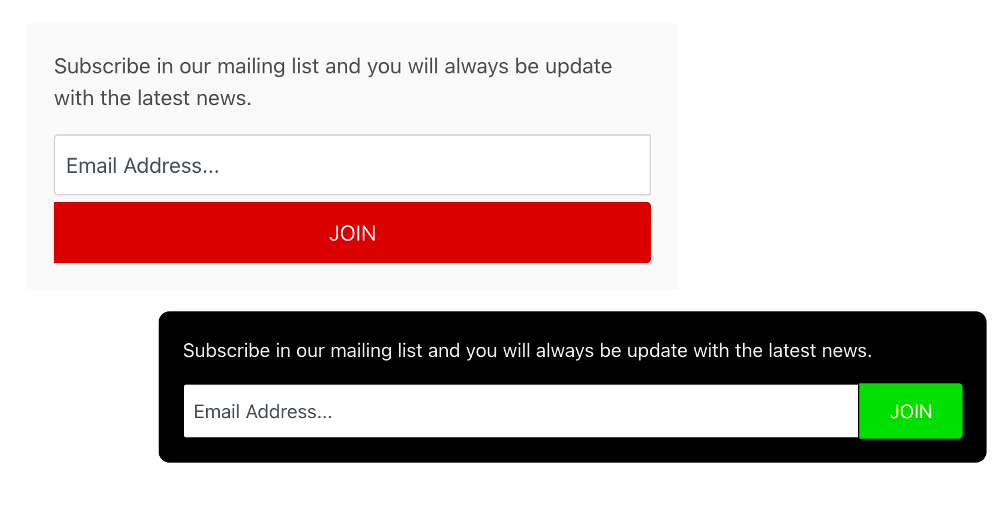
| Form Style | Default displays the standard form. Flat lays out the email field and button side by side where space permits. |
| Background Color | Optional background color for this module instance. |
| Text Color | Optional text color for this module instance. |
| Form Padding | Optional CSS padding value, such as 10px or 1em. Leave blank to use no module-specific padding. |
| Custom Color | Optional color used for the submit button. |
| Pre-Text | Optional text displayed above the form. |
| Email Address Text | Text shown in the email field before a visitor enters an address. |
| Subscribe Button Text | Label displayed on the submit button. |
| MailChimp API Key | API key for the Mailchimp account. |
| MailChimp Unique List ID | ID of the Mailchimp audience that will receive signups. |
Custom CSS
Use Custom CSS to add styles for this module. The form is inside a wrapper with an ID of chimp followed by the Joomla module ID (for example, chimp123). To target one instance only, use that wrapper ID as a selector:
#chimp123 .mailchimp_signup_form button {
    font-weight: bold;
}
Replace 123 with the module ID shown in the Joomla module editor. Selectors that do not use the wrapper ID may affect other signup modules or elements on the page.